Tkinter TNotebook Tricks Part 1
29 April 2023
Tkinter TNotebook Tricks Part 1
Well, I’m trying to slot more time to keep the blog and website somewhat current and relevant. I really hope that I can do it. Given what has been going on over the last 12 months, I’m not sure how long I will be able to keep it up, but I will do what I can.
Anyway, what I’m going to talk about is the Tkinter TNotebook and this will be the first part of what I hope will be many “Hacking Tkinter Widgets” type posts here.
The TNotebook Widget
If you don’t know what the TNotebook widget is all about, please allow me to give you a little bit of background on it.
According to the official Tcl/Tk man page, the TNotebook is
ttk::notebook — Multi-paned container widget
That’s a very straightforward description, but it really doesn’t tell us much about what it looks like. So, let’s take a look at it in a real world use.
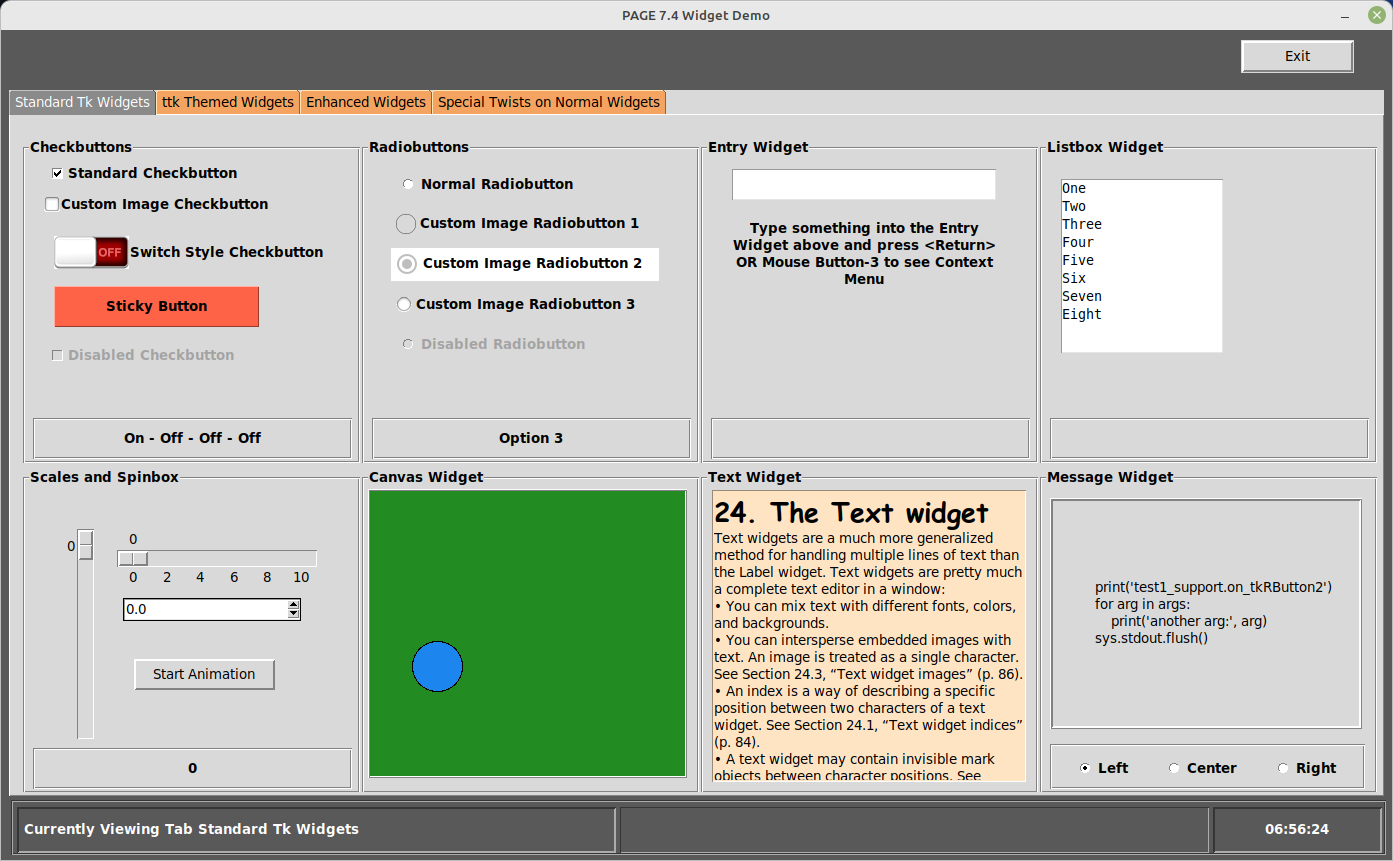
This is a screen shot of the Widget Demo that I wrote for PAGE. It shows every PAGE supported Tk and ttk widgets. As you can see, this is a single window application, but I use the ttk.TNotebook to hold various widgets grouped by type.
Each “page” in the Notebook is a TFrame which acts as a container for any number of widgets and any of the widgets can be Tk widgets, ttk widgets or custom/third party widgets.
You can have as many tabs (or pages) as you can realistically fit and any page can hold another TNotebook to extend the possibilities. Of course, you CAN go overboard, but that’s a subject for another day.
So how do you get started with creating the TNotebook? The next section will provide code to create a small program to demonstrate a TNotebook with four tabs (with no other widgets in the tabs) in “normal” Tkinter/Python code.
Straight Tkinter Code
The Import section
from tkinter import *
import tkinter as tk
import tkinter.ttk as ttk
from tkinter.constants import *
Create the toplevel object
# ===================================================
# Create a toplevel object and set it's size
# ===================================================
master = tk.Tk()
master.geometry("630x420")
master.resizable(0, 0)
master.title("TNotebook Style Demo")
Create the TNotebook widget
# ===================================================
# Create an instance of the ttk.Notebook.  It's
#   parent is the "master" Toplevel object
# ===================================================
tn = ttk.Notebook(master)

# ===================================================
# Create four frames which will act as the container
#  area for the tabs.
# ===================================================
t1 = ttk.Frame(tn)
t2 = ttk.Frame(tn)
t3 = ttk.Frame(tn)
t4 = ttk.Frame(tn)
Add the tabs
# ===================================================
#  Now add each frame into the Notebook
# ===================================================
tn.add(t1, text="Page 1")
tn.add(t2, text="Page 2")
tn.add(t3, text="Page 3")
tn.add(t4, text="Page 4")
Place the Notebook in the Toplevel
# ===================================================
# Use place geometry manager to hold the Notebook
# Place it centered in the toplevel
# ===================================================

tn.place(x=164, y=97, height=226, width=302, bordermode="ignore")
Start the Tkinter loop
# ===================================================
# Start the whole thing running
# ===================================================
master.mainloop()
That’s it. Here is what it looks like in “action”
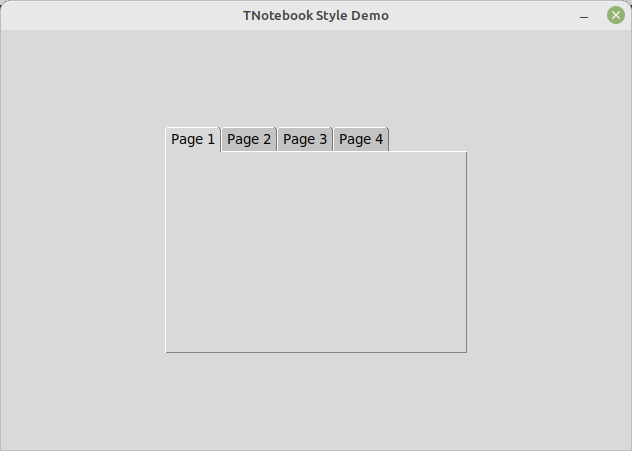
Somewhat boring, but pretty easy, even in straight Tkinter/Python.
If you want to use PAGE to generate the GUI, it’s even easier. Anyway, now for the trick. The tabs at the top of the TNotebook are REALLY boring looking. The colours of the tabs blend into the frame that creates the “page” portion and the “inactive” tabs do have a slight darker colour. Let’s kick it up a notch.
Add the following function to the code above somewhere near the top of the file.
def setup_base_style():

    style = ttk.Style()

    style.map(
        "TNotebook.Tab",
        background=[
            ("selected", "gray54"),
            ("active", "gray86"),
            ("!active", "sandybrown"),
        ],
        foreground=[("selected", "white"), ("active", "black"), ("!active", "black")],
    )
Now let’s examine the function and what it actually does.
In the function, the first thing that we need to do is assign an instance of the ttk.Style() object. Then we need to create a map for the TNotebook.Tab . We create a list of tuples which will hold the state of the tab and the colour we want to assign to that state. The background is set first, then the foreground is set. There are three states that are available to us for the Tab object. They are:
-
selected - When the tab is the one viewed by the user
-
active - when the mouse is hovering over the tab
-
!active - (Not active) when the tab is not the selected tab and the mouse is not hovering over it.
The only thing that’s left to do is call the function before the form is shown to your user. To do that simply place the call just before the Tkinter main loop call.
# ===================================================
# apply the style to the notebook
# ===================================================
setup_base_style()

# ===================================================
# Start the whole thing running
# ===================================================
master.mainloop()
Here is what it looks like after we’ve added the function and called it.
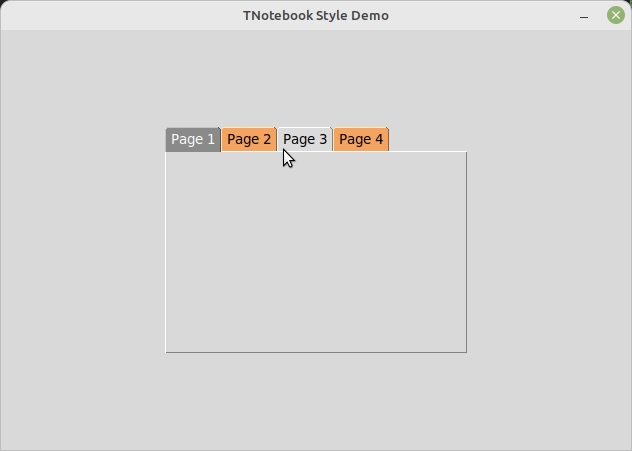
You can see the selected tab now has a darker gray background with white text, the inactive tabs are a sort of orange background with black text and the active tab (the one the mouse pointer is hovering over) is a light gray with back text.
I’ve created a repository here with the source code for this post.
That’s it for this time, but there will be more Tkinter tricks for the TNotebook in my next post.
Until we type again, Enjoy life, be safe and keep coding!
Greg